
Many digital pattern resources may only provide .PNG graphic file format for you, because of that I want to share a quick tutorial of how to define a digital graphic pattern as .PAT file in Photoshop so you can apply it in larger canvas dimension for further editing process.
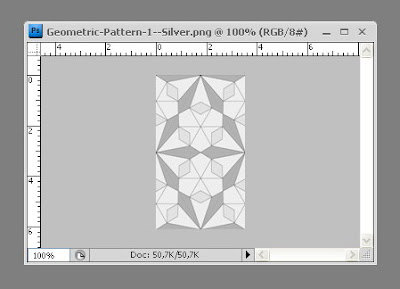
Step 1 - Open the digital graphic pattern file
Any graphic digital pattern file format, such as: .GIF, .JPG or .PNG can be defined as pattern in Photoshop. To have good quality result, be sure that they are available as seamless pattern as they will be repeated in all direction later.
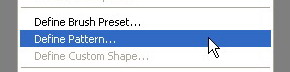
Step 2 - Define pattern
Once your digital graphic file is opened, go to the Photoshop main menu bar, find: Edit > Define Pattern
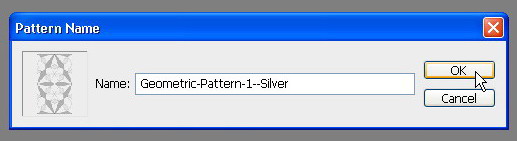
Another dialog box will be shown, and this time you have to name your new defined pattern then click OK when it's done.
Step 3 - Creating .PAT file for a set of patterns
Whenever you define more than one pattern, you will see all of the defined patterns in Preset Manager. Go to Edit > Preset Manager select 'Pattern' for the Preset Type option and you can see all the previous defined patterns are listed. Click the Save Set button to create the .PAT file.
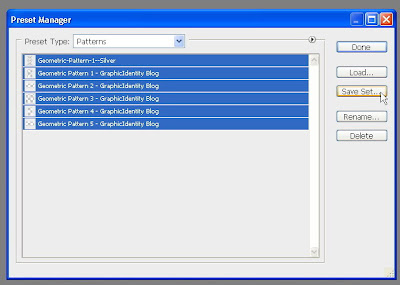
You can group certain pattern type (based on the shape or design style for instance) and save them as different .PAT file. Click the Load button to add another set of .PAT file pattern in your Preset Manager.
How to fill canvas with Photoshop pattern
After you understand how to define pattern as .PAT file in Photoshop, it will be very easy for you to apply the defined pattern into any size of Photoshop canvas dimension.
First of all, create any size dimension of new blank transparent canvas file: File > New.
There are several ways to apply the pattern:
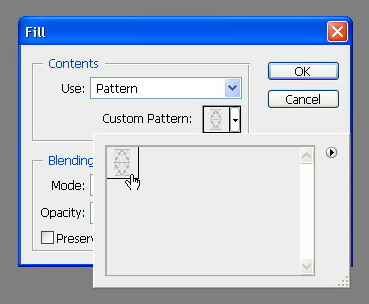
1. Use Fill tool (Shift + F5) - with this tool you can select Blending Mode type or set the Opacity of the pattern before you apply it to the canvas.
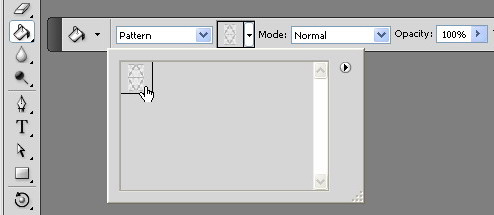
2. Use Paint Bucket tool (G) - Beside Blending Mode options and Opacity control, there are also more different options if you use Paint Bucket tool to put pattern in your blank canvas.

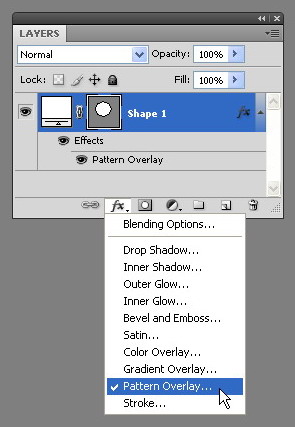
3. Use Shape tool (U) - The advantage of using this tool is that you can apply Pattern Overlay using Layer FX tool and scale the pattern to seamlessly appear smaller. I'm not suggesting you to scale the pattern bigger because the resolution quality will not be nice to see.
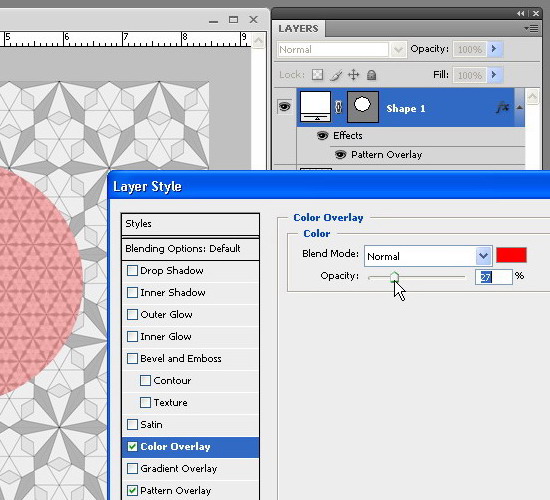
How to add color to your pattern
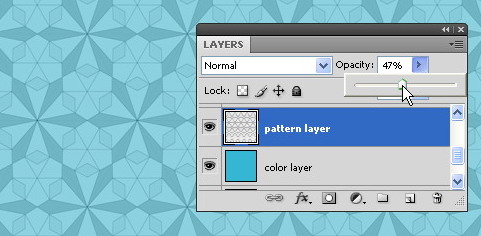
Basically, it is very easy to add color to your pattern by setting the opacity of the pattern layer above another layer that has solid color background. The bottom line is to make the pattern layer to look transparent with this technique.
When you fill pattern using shape tool, you can also add other effects using Layer FX tool, for instance: use Color Overlay effect, after you decrease / adjust the opacity of the Pattern Overlay effect.
I hope you will find this short tutorial useful. Use the comment form below if you have more questions and be sure to subscribe to GraphicIdentity Blog Feed because there will be another follow up tutorial related to 'pattern' soon.
Related Post:
- 50 Modern and Minimalist Patterns
- 12 Digital Stripes Texture Sets
- Subtle Seamless Patterns - Part 1: Free Geometric Pattern
No comments:
Post a Comment
If you like Graphic Identity's articles & our free design box, please drop your comment or subscribe Thank you :)