Download the Graphic Identity - text grunge 01.ATN (2Kb) inside a WinRAR archive file.
Graphic Identity - text grunge 01.rar (1.12 KB)

If you don’t know what Photoshop Action is and how to install it, you can go to my previous tutorial post about Photoshop Action.
Don’t miss out to download my next photoshop action series by subscribing to my feed!
Step One – Create a text layer
Create a new file and make a text layer. You can add background if you like, just to make it easy, when you want to see a clear grunge effect.
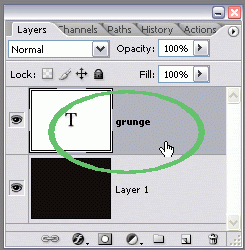
I choose dark background behind orange text.

The interesting part about my grunge photoshop action, is that you can blend two colors (better be in contrast) combination. I suggest you to do some small experiment using different color combination to see how they will look for your design.

Step two – Working with photoshop action
Install the grunge photoshop action, and play selection. Wait in a minute to see the result.
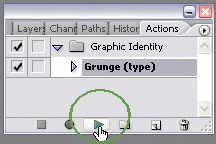
If you follow the steps correctly, then you will see this effect:
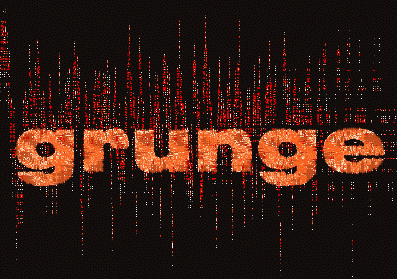
There is kind of eroded background, which perhaps you need to adjust a little more.
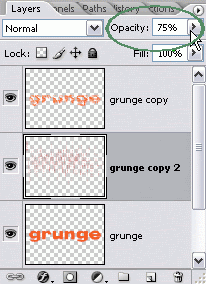
Go to the layer panel, and your default text layer has been rasterized and being duplicated in two times. Be sure to work in grunge copy 2 layer, because that is where the eroded background set.
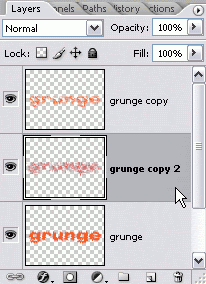
Search for eraser tool in tool box, then set its opacity as you like and start to erase unwanted background spot with this tool.

You can also adjust the layer opacity as you wish to have better background look.
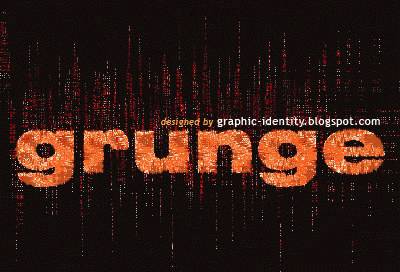
Get the finished Grunge text effect:
Don’t miss out to download my next photoshop action series by subscribing to my feed!

Thanks! This is great! I can make cool work at the click of button :D
ReplyDelete