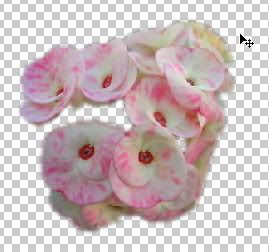
There are ways to create a good selection over an object. This technique is especially used in order to separate the object that we need to edit from its background. Professional Photoshop User tends to make a selection in a very neat technique. When they deal with object like animal fur or human's hair, this basic way tutorial might not be counted. But somehow you need to know how right? Let's take a look.
Step 1 -
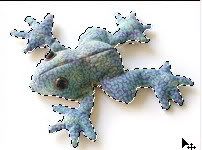
Optimizing the use of Magic Wand ToolI recommend this tool, because it is easiest and fastest tool for the beginners. One thing to remember is that this tool will work optimize if you adjust the object color channel a little bit. The purpose is to find a sharp contrast between the main object and its background, so it would easily picked by the
Magic Wand Tool based on its hues sample color and contrast.
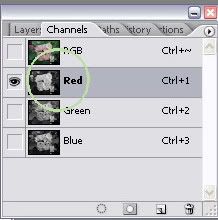
Find the
Color Channel and choose the most contrast hues among the other channels, here I pick
Red Channel.
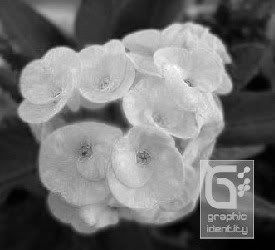
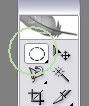
Set the
Magic Wand Tool tolerance in the range of 50, then put this tool on any area of your main object. You will find your main object 85% selected automatically.

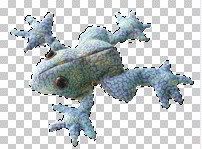
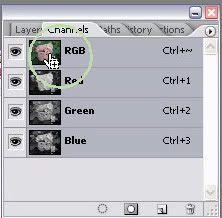
Back to the
RGB Channel and see how it is done in colored mode.
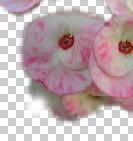
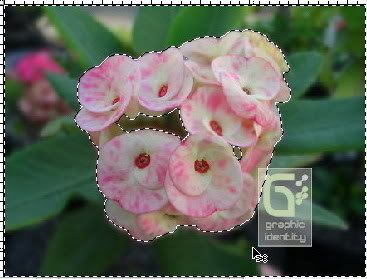
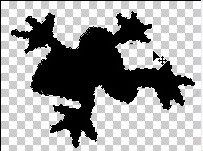
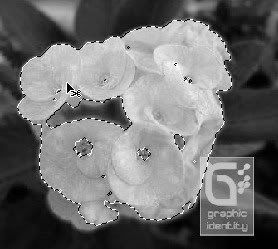
As you can see, it is not yet a perfect 100% finished selection. You can add sub selection inside the main object using
Elliptical Marquee Tool. Just hold the shift key and drag your mouse at the same time to add selection inside and alt key to subtract.
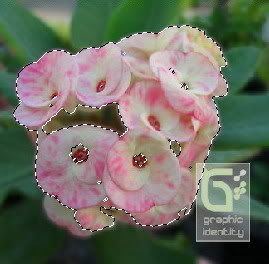
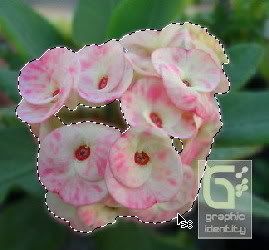
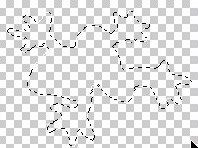
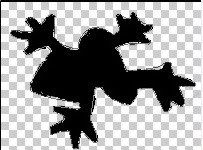
A finished selection will look like this: