Select your desired image figure or image object. Just make sure that your object selection is having a perfect shape, because you won't need the entire image element to create this shape vector object.

Hence, delete its background to do so.

Step 2 - Creating paths from the selected object
Remember not to deselect your object after you have separated it from its background. Keep the selection area on, then press Delete.

After you have empty selection area, use Paint Bucket Tool to fill it with black color. This is a very useful trick to make a clear and clean vector shape object.

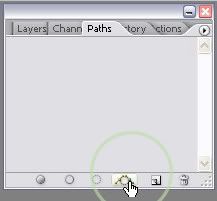
Go to the menu Window > Paths and make work path from the selection by clicking this icon tool:

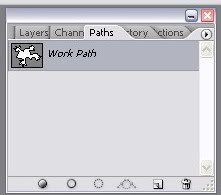
You will find your selection turned into this path selection:

Step 3 - Defining custom path
Go to the menu Edit > Define Custom Path then your work custom path will be created in a second after:

Find your own custom path in Tool Box by choosing Shape Tool, then press Custom Shape Tool.

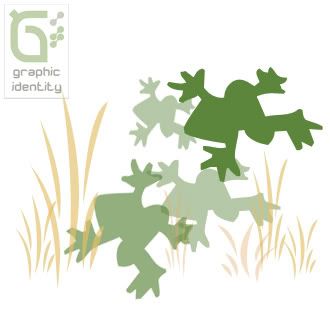
Go to the Sub Menu Bar and check your custom path object. If you have followed this tutorial in a good way, I make sure you would be able to create vector graphics using your own custom path object as you like. ; )


No comments:
Post a Comment
If you like Graphic Identity's articles & our free design box, please drop your comment or subscribe Thank you :)