It’s been more than a week since my last tutorial article. Hope you would love this one ;)
Today’s tutorial is different than before. I want to share you an easy tutorial of how to create Swirls in Illustrator.
Decorative swirls are loved nowadays; people always use this style along with natural element into their design. I know that there are lots of tutorials which are sound similar with mine. Well the idea is to create swirly curls, but my technique would probably different than any others. The twirl effect result is having some hazy kind of curls, so I guess it would be interesting.
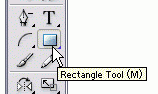
Step One – Draw a RectangleCreate a new file and find the Rectangle Tool (press key M) in the Tool Box, then draw a rectangle in any size as you wish.
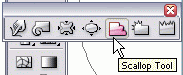
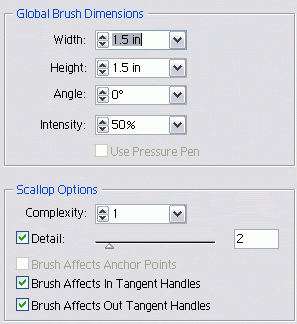
Search a Scallop Tool and double click on it to go to Scallop Tool Option.
Set the value that shown below:
Back to your rectangle drawing image, and with the Scallop Tool click at one of its corner.
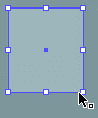
You can click any corner, and here is the result:
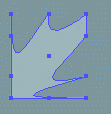
The corner that you have clicked would have 90 degree corner angle, while the other corners deform into scallop effect.
Step two – Creating Swirly CurlsFind the Twirl Tool and double click on it to go to Twirl Tool Option

Set the value that shown below:
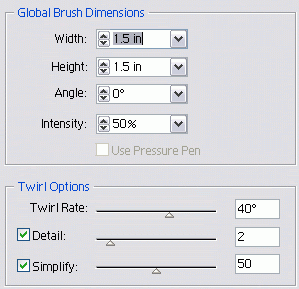
Click at any corner and hold it in few seconds until you see the twirl effect that you want.
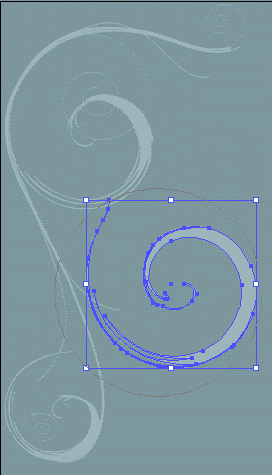
You should know that in order to get nice effect, this one is little bit tricky. I suggest you to use this twirl tool at any corner point but avoid clicking on the part of deformed rectangle that has 90 degree corner angle. The possibilities of results are countless. It would depend on how long you hold the mouse click. The longer you hold it, and then you will have lots of twirl spirals. Otherwise, simple shape twirl will be created. Spend some times to experiment using different shape to twirl is also useful to try.
If you want to change the twirl shape, you can use Warp Tool (Shift + R), by dragging the end point of your swirly curl.

The finished swirly curls:
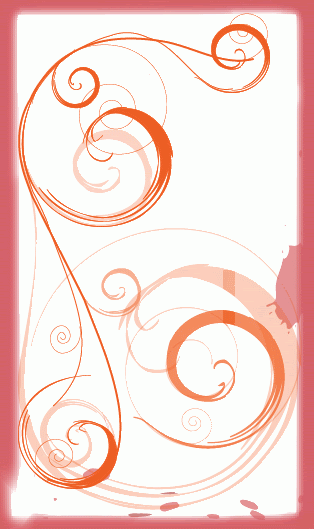
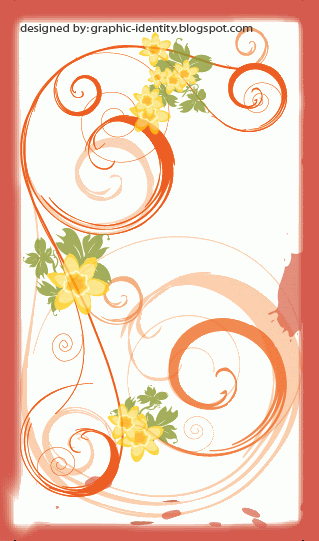
As you see, the swirly curl is created in a single path. You can join them into a group of paths along with other curls and swooshes. Learn how to do it in detail by reading
Bittbox’s tutorial “
How to make custom swooshes swirls and curls”.
Bittbox also provides series of
Illustrator Brushes (free to download) to create swirls and curls using Spiral Tool.
I got another resource that came from
Verlee’s Blog, where she uses different techniques to create swirly curls but also worth to visit.
If you like my tutorial series, please drop a comment and
subscribe to my feed!